This article explains how Microsoft Entra ID can be integrated with Jostle
Table of contents
- Configuring your Jostle platform with Entra ID
- Entra ID Authentication Tokens
- Configuring your Jostle platform with Entra ID (Classic portal)
- Pass-through Authentication
Configuring your Jostle platform with Entra ID
To configure your Jostle platform with Entra ID, System Admins will need to sign in to portal.azure.com and then follow the steps below.
Adding Jostle to your Directory
-
Click on "Microsoft Entra ID" on the left side menu to open the Azure AD window. You can select which directory you want to enable directory integration by clicking Switch directory at the top. A drop-down menu will appear on the right under your username where you can select a different directory.
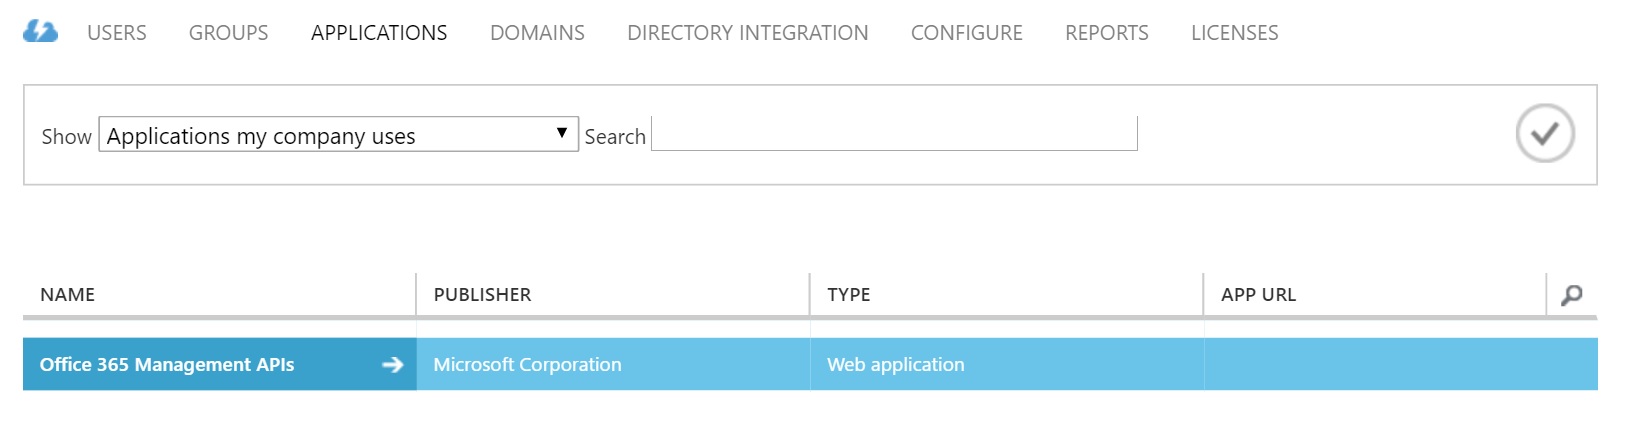
- From the column on the left side, under Manager, click "Enterprise applications"
- Click "New application" at the top of the window.
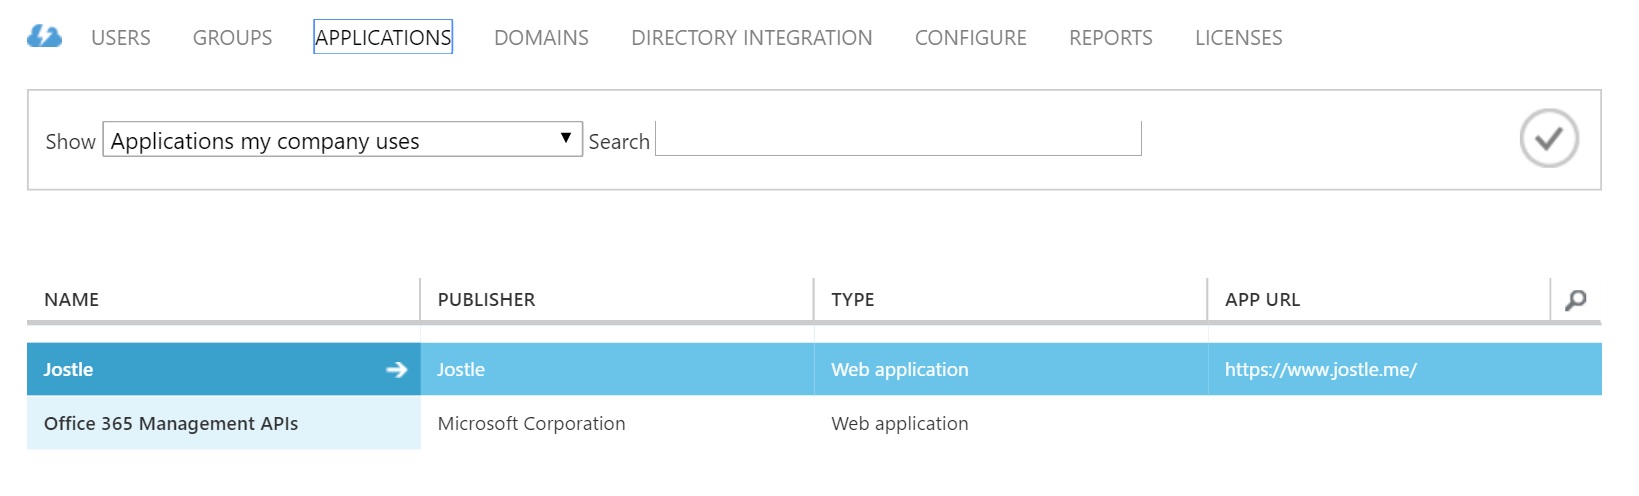
- Search for "Jostle".
- Select Jostle app from the results and it's app window will appear on the right. Scroll to the bottom and click the Create button.
Configuring Entra ID SSO for the Jostle platform
Once you have added the Jostle application, the application Quick start window will pop up. (If you ever need to come back to this window, you can find it again by going to Enterprise applications > Overview > click the Jostle icon > Quick start).
- From the column on the left, under Manage, click on Single Sign-on
- For "Single Sign-on" method, select SAML
- In the "Basic SAML" Configuration box, click on Edit
- In the "Identifier field", enter: https://jostle.us
- In the "Reply URL field", enter: https://login-prod.jostle.us/saml/SSO/alias/newjostle.us
- In the "Sign on URL field", enter: https://login-prod.jostle.us
- Save it.
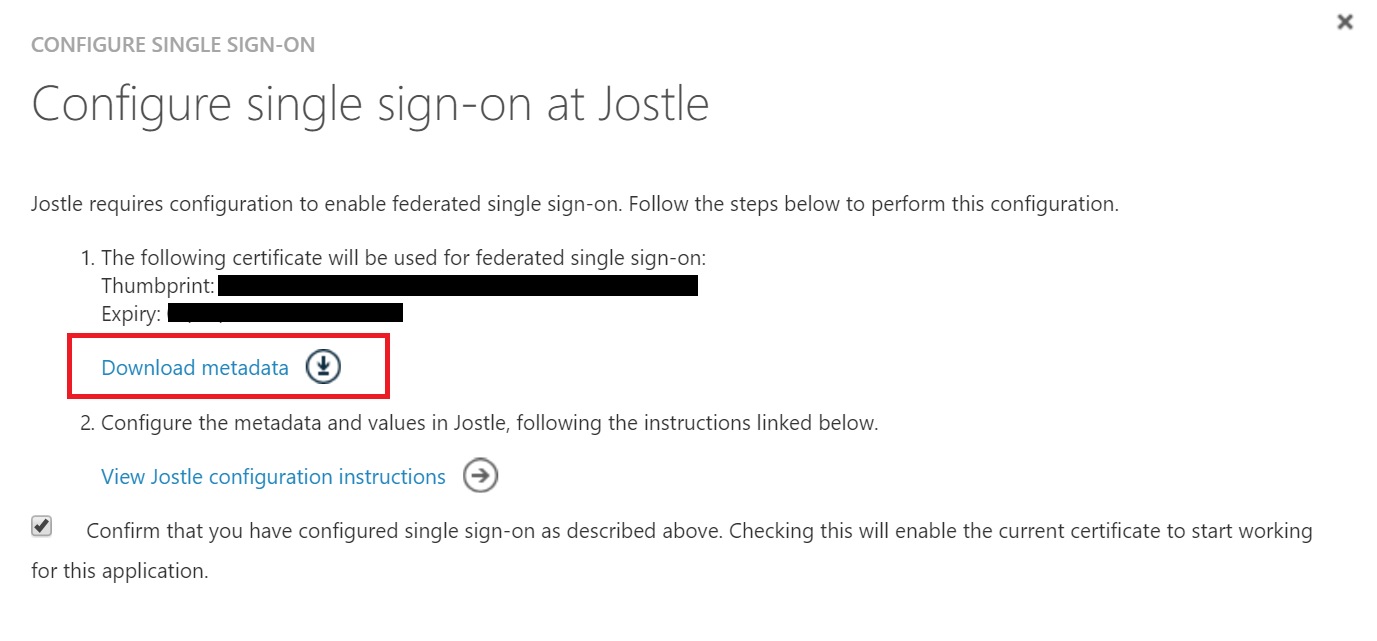
- On the "SAML Signing Certificate" box, verify that the Status is Active* and then navigate over the Federation Metadata XML and click on Download.
- Send the downloaded metadata file to support@jostle.me and ask them to enable SSO for your Jostle platform. You need to be listed as System Admin in Jostle to request this integration.
*If the status is not Active, click on Make new certificate active and then Save it.
Assigning Entra ID users to the Jostle application
When you are ready to assign your users, you have two options.
From the column on the left, under "Manage", click Properties and you’ll see a Yes/No box next to “Assignment required?”
By default, this is option is set to Yes, and it is the recommended setting. Keeping this default setting will require that you follow the steps below to assign your users before they will be given access to the Jostle application.
However, if you select No, then ANY users in your Active Directory that navigate to the Jostle application will be granted access. Selecting No will not require you to follow the steps below to assign users and is not recommended.
Assigning users
We recommend testing on a test user first, to confirm that Single Sign On is working, before assigning the rest of your organization. Alternatively, you can test a single user from the Quick start window by clicking Assign a user for testing.
- In the "Jostle Enterprise application" window, under Manage click on "Users and groups".
- Click "Add user/group" at the top of the window.
- In the "Add Assignment" window, click Users.
- You can select which users in your directory to to add by clicking the checkbox next to each name. If the user does not exist or they are an external user, click "Invite" at the top to add them.
- Click the "Select" button at the bottom once you have selected all applicable users and the window will close.
- Click the "Assign" button at the bottom of the "Add Assignment" window. You can double check how many users have been selected.
Once you've completed your SSO configuration and Jostle confirmed it has been setup, you’ll need to convert your users from a Jostle credentials to the SSO authentication. For details on how to do that, go here.
IMPORTANT: Entra ID Authentication Tokens
When working with SSO, Jostle only accepts authentication tokens that are less than 90 days old. Entra ID allows users to stay logged in longer than 90 days, so to avoid problems with accessing Jostle, it is advisable that you reset the expiry of your tokens in Entra ID to under 90 days. For information on how to do this, please see this article from Microsoft Docs: Configurable token lifetimes in Azure Active Directory
And below is a guide for what you'll need to enter in the particular fields when you are in Entra ID > Security > Conditional Access > Select New policy:
- Name - enter “Jostle Access”
- Users - the users you want SSO applied to
- Cloud apps or action - add the Jostle app
- Sign-in frequency - enable (check box)
- Period reauthentication - enter any period less than 90 days
Microsoft's complete walkthrough for configuring authentication session management can be found here.
NOTE—if you do not have the Conditional Access (paid) option with Entra ID, then please contact Jostle Support at support@jostle.me so we can suggest an appropriate workaround for you.
Configuring your Jostle platform with Azure AD (Classic portal)
To configure your Jostle platform with Azure AD using the classic portal, sign in at manage.windowsazure.com and then follow the steps below.
- Click the Active Directory icon on the left side menu. Select which directory you want to enable directory integration in the Directory list. (click the right arrow beside the directory name)
- Click on Applications on the top menu.
- Click the Add button at the bottom of the page.
- A dialog will pop up asking What do you want to do? Click Add an application from the gallery.
- Search for "Jostle".
- Select Jostle from the results and click the checkmark on the bottom right.
Configuring Azure AD SSO for the Jostle platform
To enable Azure AD single sign-on in the Azure classic portal, go to the Active Directory you have added Jostle to, then click Applications in the top menu and select Jostle.
- Click the Quick Start icon on the top menu.
- Click "Configure single sign-on" .
- A dialog will pop up asking "How would you like users to sign on to Jostle?" Make sure "Microsoft Azure AD Single Sign-On" is checked and then click the checkmark in the bottom right.
-
In the Configure Apps Settings dialog:
- Fill in the Sign On URL as such: https://login-prod.jostle.us/saml/SSO/alias/newjostle.us
- Fill in the Identifier as such: https://jostle.us
- Check Configure the certificate used for federated single sign-on (optional)
- Click Next
- In the "Configure Federated SSO Certificate" dialog, check your applicable certificate option and then click Next.
-
In the "Configure single sign-on at Jostle" dialog:
- Download the metadata file. Please email this to support@jostle.me
- Check "Confirm that you have configured single sign-on as described above"
- Click Next
- In the "Single sign-on confirmation" dialog, enter an email for notifications and click the checkmark.
-
Click on Attributes at the top menu of the Jostle application (you can always return to this page by going to the directory > Applications > right arrow beside 'Jostle')
- Edit the saml token attributes for nameid (http://schemas.xmlsoap.org/ws/2005/05/identity/claims/nameidentifier) by highlighting it and clicking the pencil icon
- Change the "ATTRIBUTE VALUE" to user.mail
- Click the checkmark

- Click Apply Changes at the bottom.
Assigning Entra ID users to your Jostle platform
We recommend testing on a test user first, to confirm that single sign-on is working, before assigning the rest of your organization.
- In the directory view, click Applications in the top menu
- Select Jostle from the applications list (double click or click the right arrow icon)
- Go to Users in the top menu
- Select the users you wish to assign and click Assign in the toolbar at the bottom.
Pass-through Authentication
To allow pass-through authentication, System Admins will need to modify the Entra SSO Jostle app "Sign On URL" to be as follows:
https://login-prod.jostle.us/saml/login/alias/newjostle.us?idp=<ENTITY ID>
Which would look something like:
https://login-prod.jostle.us/saml/login/alias/newjostle.us?idp=https://sts.windows.net/7f83bc6c-b5f4-427e-9979-b4f0b6w89fac/
The same URL can be set as the browser home page to by-pass the login screen.
Entra Connect: Pass-through Authentication
Pass-through Authentication is a feature that System Admins can enable with Entra Connect that allows users to sign in to both on-premises and cloud-based applications using the same passwords. If you would like to learn more, we recommend viewing the video found here.
Below the video you will find further information about Pass-through Authentication and if you’ re interested in implementing this feature, the section titled Next Steps can guide you through the setup process.
Once you have configured Entra Connect, you’ll need to modify the Entra SSO Jostle app "Sign On URL" to be as follows:
https://login-prod.jostle.us/saml/login/alias/newjostle.us?idp=<ENTITY ID >
Which would look something like:
https://login-prod.jostle.us/saml/login/alias/newjostle.us?idp=https://sts.windows.net/7f83bc6c-b5f4-427e-9979-b4f0b6d89fac/
Once it has been modified, users should access their Jostle platform using that URL, which they can then bookmark for future use.
0 Comments